I wanted the Y carriage as compact as possible and after many sketches I came up with this design.
The four bearing blocks placed as close as possible to the front plate, the Anti-backlash nut (16mm) mounted directly behind the supported rail and the Z-axis stepper motor to be mounted on top. With the design close to final I ordered the aluminium (6 and 10 mm thick) and I used my cheap crosscut saw to cut the pieces roughly to size.
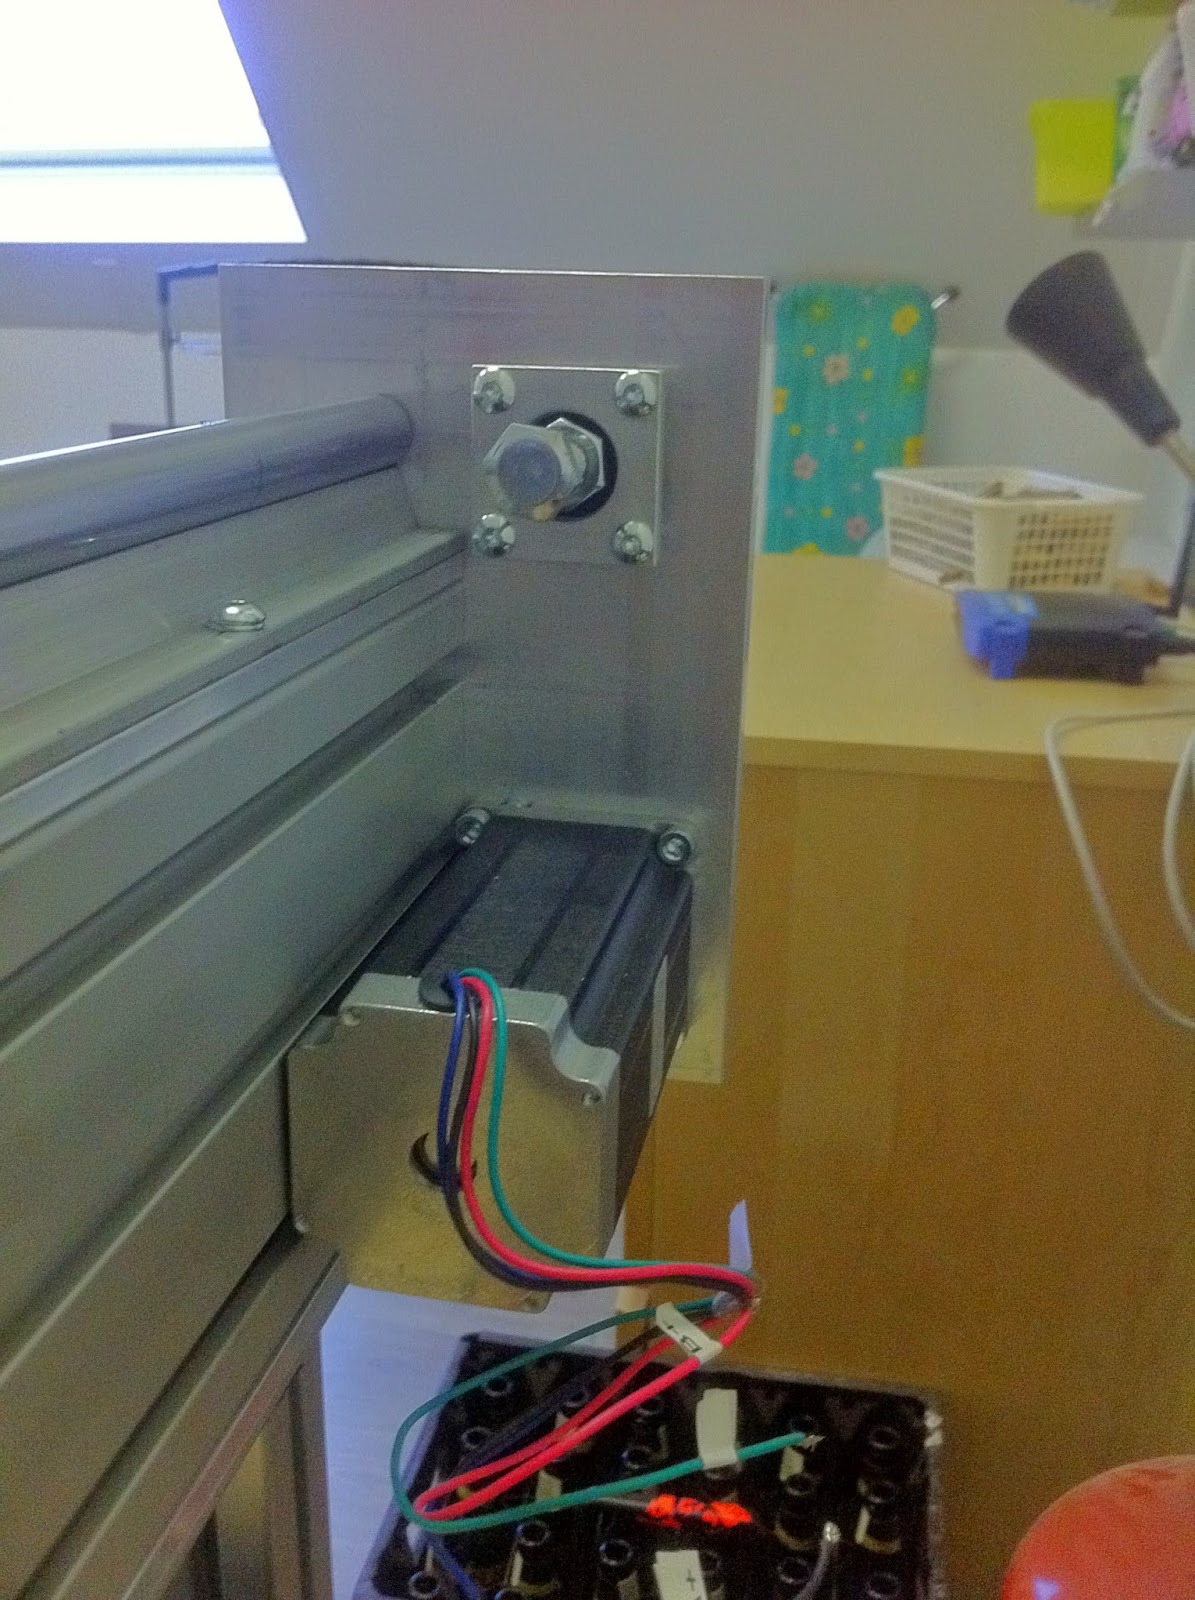
After a couple of nights of filing, drilling and tapping the Y-carriage started to look a like my sketch.
The final carriage part (for now) is the holder for the Anti-backlash nut. This holder is made from 6 mm aluminium and I used my friend CNC to mill it so that it fit nicely follows the shape of the nut.
To mount the carriage on the gantry I order 16mm supported rails from stappenmotor.nl. The holes of the support rails didn't line up with any of the mounting options of the gantry profile so there was a need for an adaptor. So yet another night drilling an tapping of a 6mm aluminium strip...
Time for a test fit...
Cool it fits the carriage slides/roles smoothly :) Next up, the Y-axis motor and bearing mounts shown in green below.
I know this is getting boring.... drilling and tapping, tapping and drilling....
And now after all the static images a video clip showing the first test of the y-axis.